Key takeaways
- A lap seam on 1.2 mm sheet needs at least 8 mm of overlap to place a 4 mm fillet clear of the free edge; below 6 mm the edge washes away.
- MIG at 130 A and 300 mm/min puts 0.48 kJ/mm into 1.2 mm sheet, so a 600 mm seam bows 1.5–3 mm unless it is backstepped in 50 mm steps over a chill bar.
- A seam weld is not an IP rating. IEC 60529 IPX5 is a 6.3 mm jet at 12.5 l/min, and the rating is proved by test on the assembly.
- Galvanised seams burn zinc back 10–20 mm each side and need a zinc-rich repair before pretreatment, or the weld line rusts first.
- Ganesh runs continuous MIG seams on robotic and manual stations; it does not run resistance seam welding or laser welding, and does not certify a rating without a test record.
An enclosure that has to keep a jet of water out at 12.5 l/min is not made by welding more. It is made by choosing where the seam runs, how much overlap feeds it, which direction the heat travels, and where the leak test sits in the route. A 1.2 mm CRCA canopy with 40 spots along a return flange passes a visual check and fails IPX5 in the first minute, because the unfused ligament between two 5.5 mm nuggets is a continuous leak path.
Seam welding for enclosures closes that path. The joint becomes continuous fusion from one end of the run to the other, with no ligament and no gap for water to track through. The cost is heat: a continuous MIG seam puts 0.4–0.7 kJ/mm into 1.2 mm sheet, against 20–40 J/mm for one spot, and the panel resists that heat by bowing. Distortion control and sealing are the same problem. A seam welded hot enough to seal is a seam that will move.
The workable route is a specified overlap, a sequenced weld, a chill behind the seam, and a leak test before coating. Each of those is a drawing note or a routing step, and leaving one out is how a welded enclosure ends up with mastic smeared over a pinhole.
Seam welding for enclosures: the limit set
Values are for continuous MIG on CRCA and galvanised sheet. Stainless moves the gas and the post-weld cleaning; aluminium moves the current and the speed.
| Parameter | Typical value | Ganesh limit or note |
|---|---|---|
| Lap overlap, 1.2 mm | 7t minimum | 8 mm on 1.2 mm; below 6 mm the edge washes away |
| Fillet leg | 3–4 mm | A 4 mm leg clears a 2 mm edge margin on an 8 mm overlap |
| Thickness for a sealed seam | 1.0–3.0 mm | Below 1.0 mm burn-through governs; above 3 mm use a double-sided prep |
| Current, 1.2 mm | 110–160 A | 130 A at 300 mm/min gives a flat, sealed bead |
| Travel speed | 250–350 mm/min | 300 mm/min; faster leaves a crowned bead with cold lap |
| Heat input | 0.35–0.70 kJ/mm | 0.48 kJ/mm at 130 A, 18.5 V, 300 mm/min |
| Distortion, 600 mm seam in 1.5 mm | 1.5–3.0 mm bow | 0.5–1.0 mm with 50 mm backstep and a chill bar |
| Start overlap | 5–10 mm | Crater fill on; a dead stop leaves a 0.3 mm ligament |
| Zinc burn-back | 10–20 mm each side | Zinc-rich repair before pretreatment, not after |
| Leak test | 20 kPa air decay | 1 kPa drop in 60 s, or immersion; before coating |
| Manual output | 3–5 m of seam per hour | Includes tacks, cleaning and inspection |
| Robotic output | 8–12 m of seam per hour | Three CLOOS cells; fixture and sequence decide the rate |
| Weld quality reference | ISO 5817 level C or B | Level B for a sealed seam; level C only where a gasket backs it up |
The overlap number is the one most drawings miss. A seam drawn as a line on a 5 mm flange cannot be welded: the arc reaches the free edge, the edge melts back, and the result is a scalloped line of holes with a bead over it. Seven thicknesses of overlap is the minimum that leaves room for a 4 mm leg and 2 mm of margin, and it is why a sealed enclosure needs a wider flange than a spot-welded one.
Why a continuous seam still leaks
Continuity is necessary and not sufficient. Four defects survive a visual check on a seam that looks fully welded, and each has a different fix.
The first is the start and stop. An arc that extinguishes on the joint leaves a crater with a thinner section and often a shrink crack at the centreline. Overlap the start by 5–10 mm, run onto a sacrificial tab, or use crater fill. On a 600 mm seam there are two ends, and both are leak sites.
The second is the unfused root. Current set for bead appearance rather than penetration leaves the two faying surfaces touching but not bonded. Water finds that interface and tracks along the whole seam, so the leak appears far from the defect. This is why a seam is sectioned at first-off: a 4 mm leg sitting on an unbonded interface is a cosmetic weld.
The third is porosity from contamination. Drawing lubricant, cutting emulsion and zinc all boil in the pool. A seam welded over a laser-cut edge that was not degreased produces pinholes at 1–2 mm spacing, and each one becomes a leak path once the coating bridges it and then blisters in the oven.
The fourth is the geometry around the seam. A gasket land that is not flat, a cable entry cut after welding, or a door that twists the frame when latched will leak on a perfect weld. Sealing an enclosure is a system, and the seam is one member of it.
Distortion: the arithmetic on a 600 mm seam
Take a 600 mm lap seam in 1.5 mm CRCA, 4 mm leg, welded at 130 A, 18.5 V and 300 mm/min. Heat input is:
Q = 60 × V × I / (1,000 × v) = 60 × 18.5 × 130 / (1,000 × 300) = 0.48 kJ/mm
Over 600 mm the arc puts 288 kJ into the joint. The weld metal is small: a 4 mm leg fillet has about 8 mm² of cross-section, so 600 mm of seam deposits roughly 4.8 cm³, or 38 g of steel at 7.85 g/cm³. The distortion does not come from that deposit. It comes from the shrinkage of the heat-affected strip on either side of it, 1.5–3 mm wide on each face at this heat input.
That strip contracts about 1% as it cools, and the cold panel around it restrains the contraction. On a free 600 mm panel the result is 1.5–3 mm of bow along the seam, concave on the welded face. Two controls reduce it to 0.5–1.0 mm: a copper or aluminium chill bar clamped behind the seam, which pulls heat out before the strip grows, and a backstep sequence in 50 mm steps so the shrinkage vectors cancel instead of accumulating.
Order matters. Welding from one end to the other on 600 mm gives the worst result and the most consistent one, because every pass adds to the same shrink direction. Backstepping, or welding from the centre out in both directions, costs setup time and saves the straightening operation.
A second arithmetic belongs on the drawing: the pressure load. A 600 × 400 mm door is 0.24 m², and at a 20 kPa test pressure the door face sees 4.8 kN, or about 490 kg, trying to push it off its gasket. The latches and hinges have to hold that, and the door has to stay flat enough for the gasket to compress 25–30% along its whole length. A seam that seals on the bench will leak at the latch side if the frame bows 1 mm under test pressure.
Galvanised, stainless and what happens after the arc
Galvanised sheet is the common enclosure material and the most awkward to seal. The zinc coating burns back 10–20 mm on each side of the seam, and that strip is bare steel sitting next to a weld bead in an outdoor environment. Without a zinc-rich primer applied before pretreatment, the first rust appears along the weld line rather than at the cut edges. The repair belongs in the routing, because the painter cannot see it under powder and will not add it.
The porosity problem is the same one that affects any coated weld: zinc vapour at 907 °C expands into a pool at 1,600 °C and has to escape before the bead freezes. A slightly wider joint gap and a slower travel speed help. A zero-gap lap on galvanised sheet produces a bead that looks sound and carries a pinhole line every few millimetres.
Stainless 304 and 316 need different aftercare. Welding leaves a heat tint that is a chromium-depleted oxide, and that oxide is where pitting starts in a chloride environment. Pickling and passivation to ASTM A967 restores the surface; brushing alone does not, because the depletion sits a few micrometres below the brush. On a food or pharmaceutical enclosure the step is not optional, and the callout should say pickled and passivated rather than cleaned.
Aluminium is harder for a sealed seam. It conducts heat away from the pool roughly three times faster than steel, so current and travel speed move up, and the oxide film has to be removed immediately before welding. A continuous seam in 2 mm 5052 is achievable on MIG with a helium-rich mix, but the porosity risk is higher and the leak test becomes the acceptance criterion rather than the visual.
What Ganesh runs, and what we do not
Continuous seams run on the three CLOOS robotic MIG cells for repeat work and at the manual MIG/MAG stations for short runs and repairs, with fixtures designed and built in the in-house tool room. Panels arrive from the 12 kW fibre laser with the 40 ft × 16 ft bed, so the overlap is a cut dimension rather than a sheared one, and the seam line can be marked from the same nesting file.
The route after welding is where most sealed enclosures are won or lost. Parts go through seven-tank pretreatment and the 18 ft × 14 ft electrostatic powder booth, with a zinc-rich repair on galvanised seams before pretreatment and a leak test before coating. Film thickness is checked by DFT gauge and adhesion by cross-hatch on the first article. Enclosure and panel work of this shape includes assemblies for Mahindra Powerol and Godrej & Boyce, and the welded assemblies capability sets out the station and fixture envelope.
We do not run resistance seam welding with wheel electrodes, laser welding, or TIG. We do not build to a pressure-vessel code, and we do not certify an IP rating from a drawing. A rating is proved by a test on the finished assembly, recorded against the serial, and the drawing has to name the test and the acceptance limit for that to mean anything. Where a customer needs IP66, the seam is one item in the review; cable entries, gland plates and door gaskets decide the result as often as the weld does.
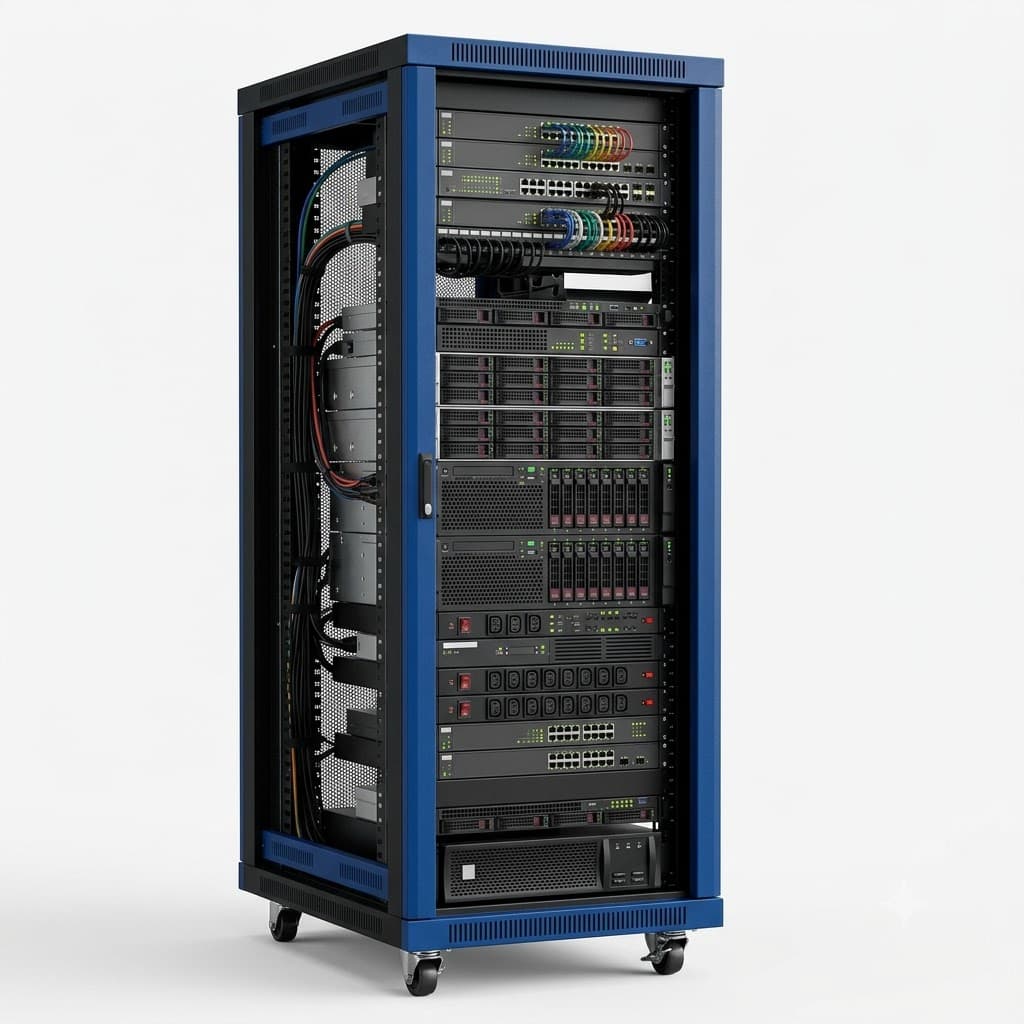
Data centre rack work sits in the rack and enclosure range, where a sealed frame and a removable side panel have different joint requirements on the same cabinet.
What to put on the drawing
- Seam route as a line with a side: which face carries the bead, and whether that face is visible after assembly.
- Overlap, 7t minimum, with the flange width that carries it. A seam note on a 5 mm flange is not manufacturable.
- Leg size and quality level, for example a 4 mm leg to ISO 5817 level B for a sealed seam, level C where a gasket backs it up.
- Sequence: backstep in 50 mm steps, or weld from the centre out, with the chill bar shown on the fixture sketch.
- Start and stop treatment: overlap 5–10 mm, crater fill, or a run-off tab removed after welding.
- Leak test: method, pressure, allowable decay and the point in the route, which is before pretreatment and before coating.
- Post-weld finish: zinc-rich repair on galvanised, pickled and passivated on stainless, and the gasket land flatness the door seal needs.
The enclosure welding guide covers how the frame and panels come together before the seam is run, and the distortion guide covers the sequence arithmetic on longer frames. Inspection records for a sealed enclosure are set out in the welding inspection guide.
When a seam weld is the wrong way to seal
A seam weld is wrong when the enclosure has to be opened in service, because the joint is permanent and the seal is destroyed by cutting it. Use a gasket on a machined or folded land, with the compression and the latch load designed for it.
It is wrong when the internal volume is large and the pressure test would load the panels beyond their stiffness, which is why large cabinets are tested at a lower pressure or by water spray rather than by air decay. It is wrong on pre-coated sheet, on 0.8 mm and thinner where burn-through governs, and on assemblies the torch cannot reach from both sides at the correct angle.
It is also the wrong answer when the requirement is dust rather than water. IP6X is a dust test, and a labyrinth or a gasket usually meets it at a fraction of the cost of a continuous seam. Specifying a sealed weld for a requirement a folded joint already meets adds distortion, coating repair and a test step for no gain.
Send the enclosure drawing with the seam route, the gasket detail and the leak requirement. The bending and welded assemblies hub carries the joint rules for the rest of the cabinet, and the RFQ route is where the test method gets fixed before the first frame is welded.
Frequently asked questions
What is the difference between seam welding and spot welding?
A spot weld is a discrete nugget with an unfused ligament between welds. A seam weld is continuous fusion along the joint, so there is no leak path between nuggets. Seam welding costs 5–8 times the arc time per metre and adds distortion, which is why it is used only where sealing is required.
How much overlap does a seam weld need?
At least 7t, so 8 mm on 1.2 mm sheet, to keep a 4 mm fillet 2 mm clear of the free edge. Below 6 mm the arc reaches the edge, the edge washes away and the seam becomes a series of holes that look welded.
Can a seam-welded enclosure be IP66?
Yes, if the seam is continuous, the door has a compressed gasket and the assembly passes the IEC 60529 tests: IPX5 at 12.5 l/min from a 6.3 mm nozzle and IP6X dust. The weld alone does not deliver the rating; cable entries, door seals and gland plates decide it as much as the seam.
Why do seam welds crack at the start and stop?
Because the crater is unfilled and the section thins as the arc extinguishes. Overlap the start by 5–10 mm, run onto a tab that is cut off, or use a crater-fill function. A 1.2 mm seam that stops dead leaves a 0.3 mm ligament that leaks under 20 kPa.
Should a welded enclosure be powder coated?
Yes, after the seam is cleaned and the zinc burn-back on galvanised stock is repaired. Powder will bridge a 0.1 mm crack but not a pinhole, and oven cure pulls trapped air out of a porous seam as a blister. Leak test before coating, not after.
Sources and further reading
- IEC 60529 — Degrees of protection provided by enclosures, the IP code and the jet, splash and dust test conditions · reviewed 3 Nov 2026
- ISO 5817 — Quality levels for imperfections in fusion-welded steel, including the porosity and undercut limits a sealed seam must meet · reviewed 3 Nov 2026
- ISO 13920:2023 — Welding, general tolerances for welded constructions: dimensions and angularity after welding · reviewed 3 Nov 2026
Have an enclosure that has to pass an ingress test?
Send the drawing with the seam route, the gasket detail and the leak requirement. We will say what the seam has to be and where the test belongs in the route.
Request a quote